![]()
2023/07/03 | VIEWING PIXEL ART IN 3D ON A 3DS
Some time ago, in a whim that sprouted from a mix of boredom and curiosity, I’ve decided to clear the dust from my old Nintendo 3DS XL and see if it was possible to not only import my pixel art into the Nintendo 3DS Camera App viewer but also have it display in 3D. After a bit of time fumbling around with the help of a few tutorials, the process revealed itself rather simple. Turning the images into decent 3D however… that’s a trial an error process that migth take some time (in other words, I’m still not very good at it).
|
|
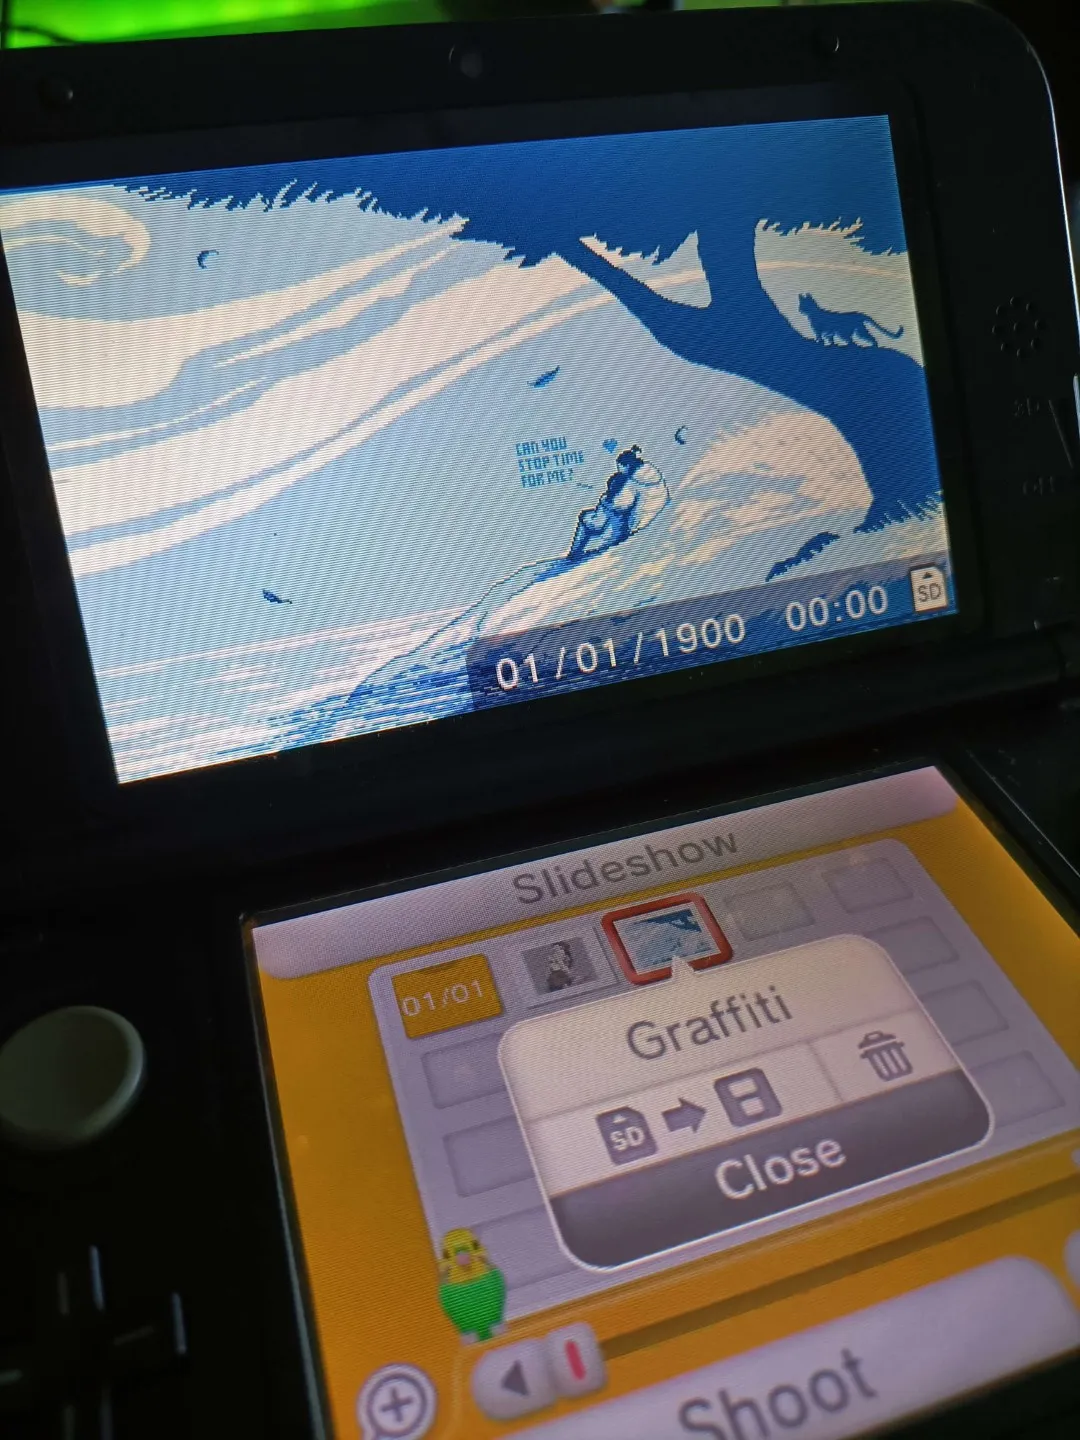
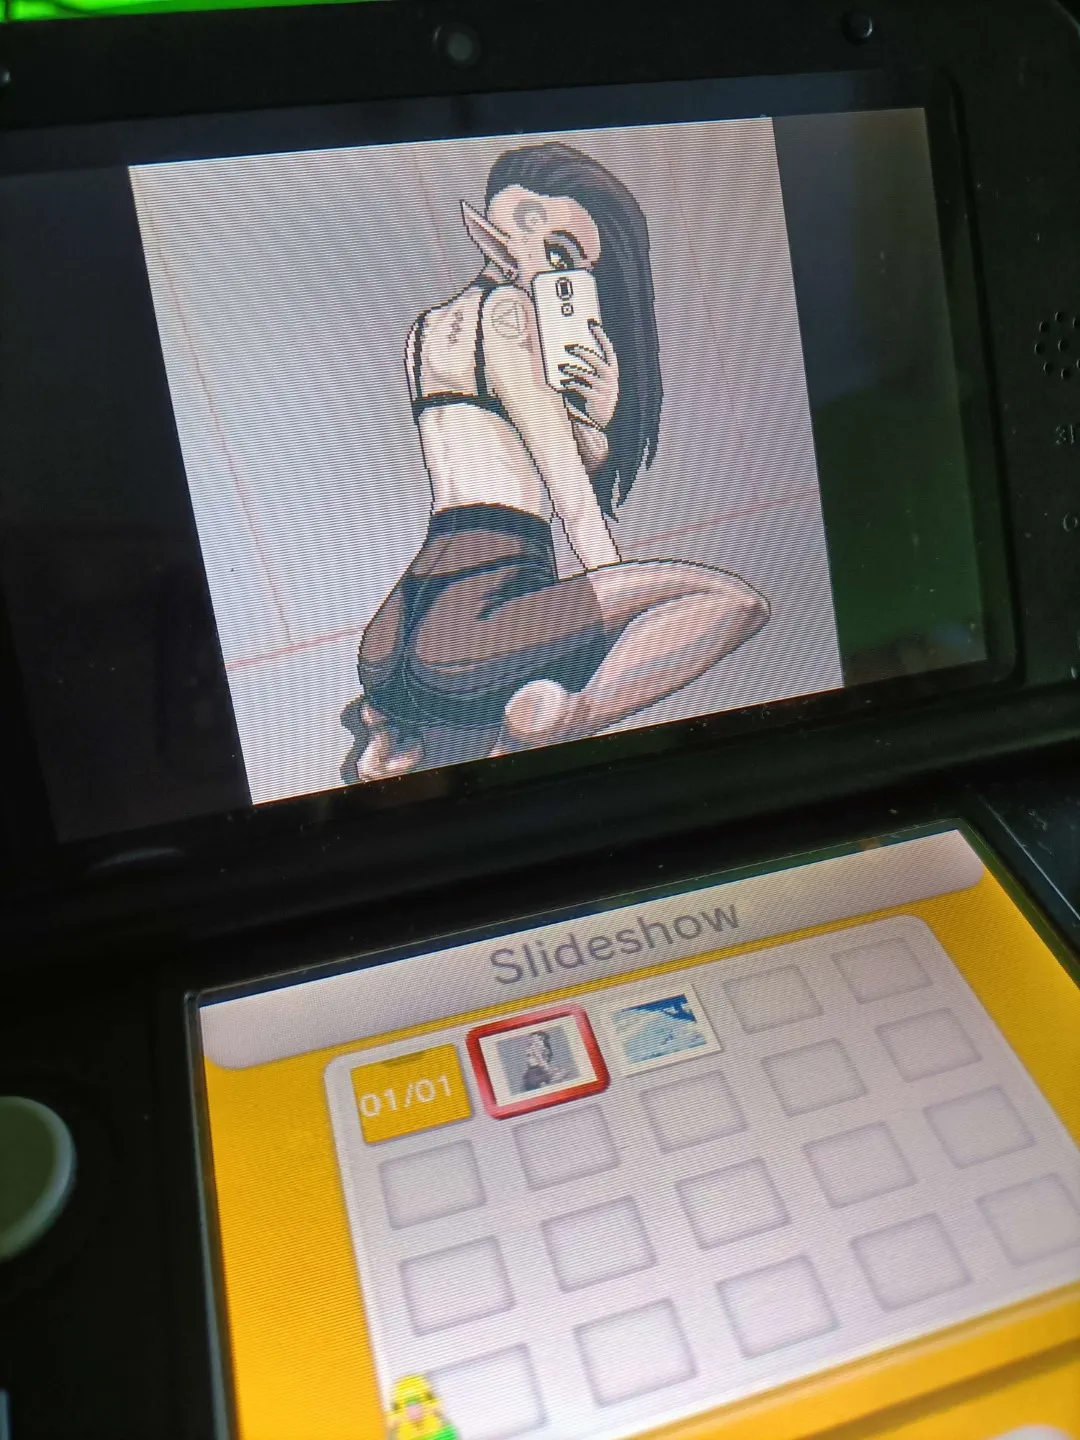
(unfortunately the photos above of the 3DS screen fail to showcase the 3D part…)
Either way, below are the steps I took to achieve this. For reference, Nintendo 3DS screens have the following resolutions:
| top screen | 400×240 | bottom screen | 320×240
:::
TOOLS USED:
GIMP
https://www.gimp.org)
G’MIC (Gimp extension)
https://gmic.eu/
Stereo Photo Maker
http://stereo.jpn.org/eng/stphmkr/
:::
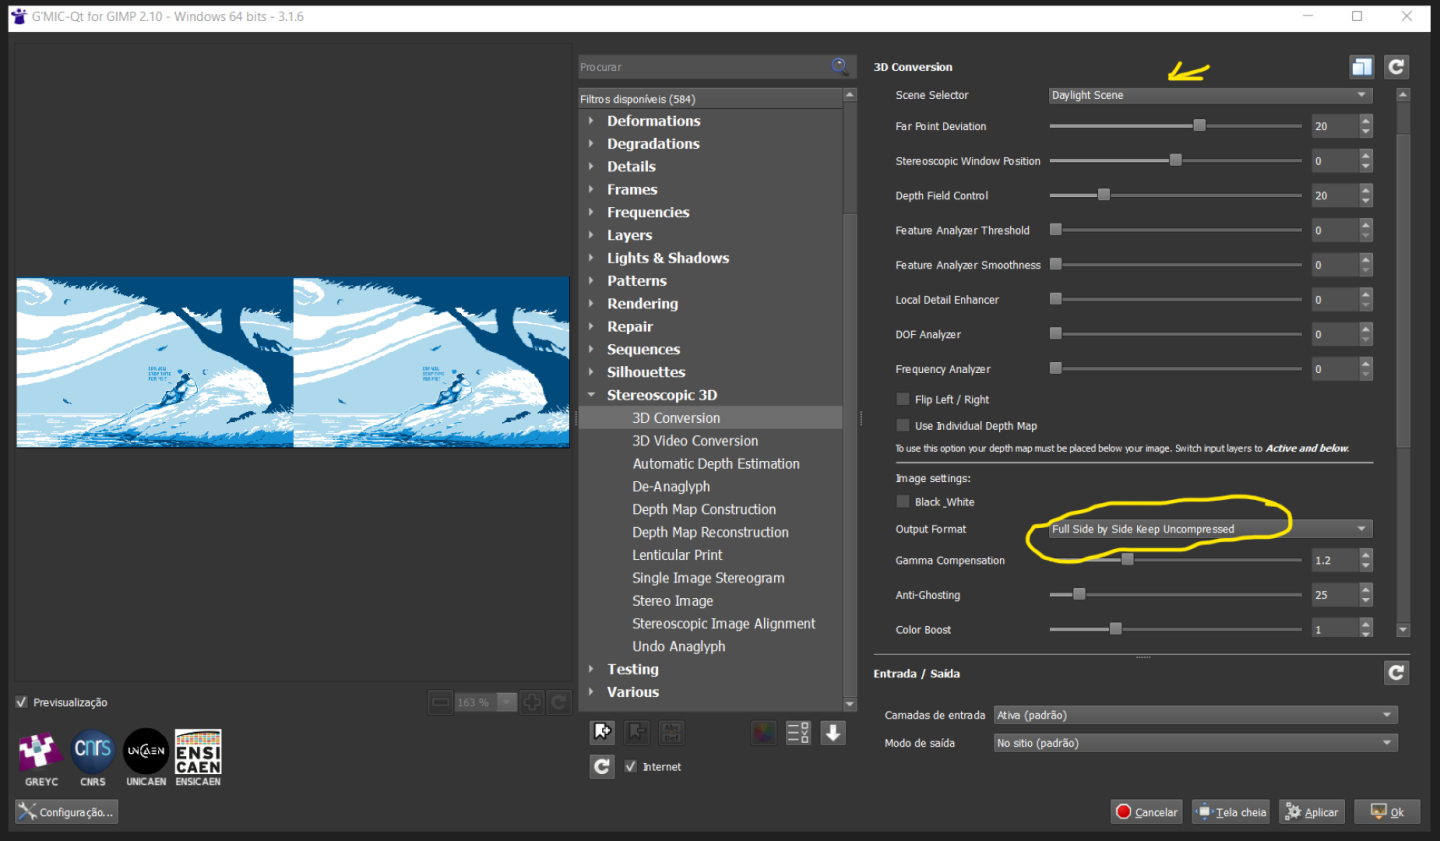
STEP 1 // Use GIMP‘s extension G’MIC to create a stereoscopic image of your drawing. Select the output format as “Full Side by Side” and just play with scene selector or tweak the nodes until you have a result you enjoy. The quickest way I found to see if it’s working properly is to go the eye-straining old-school way of looking at the image while crossing my eyes. Yes, you’ve read it right…just cross your eyes and relax them until the two images merge in the middle of your view and form a single 3D image.
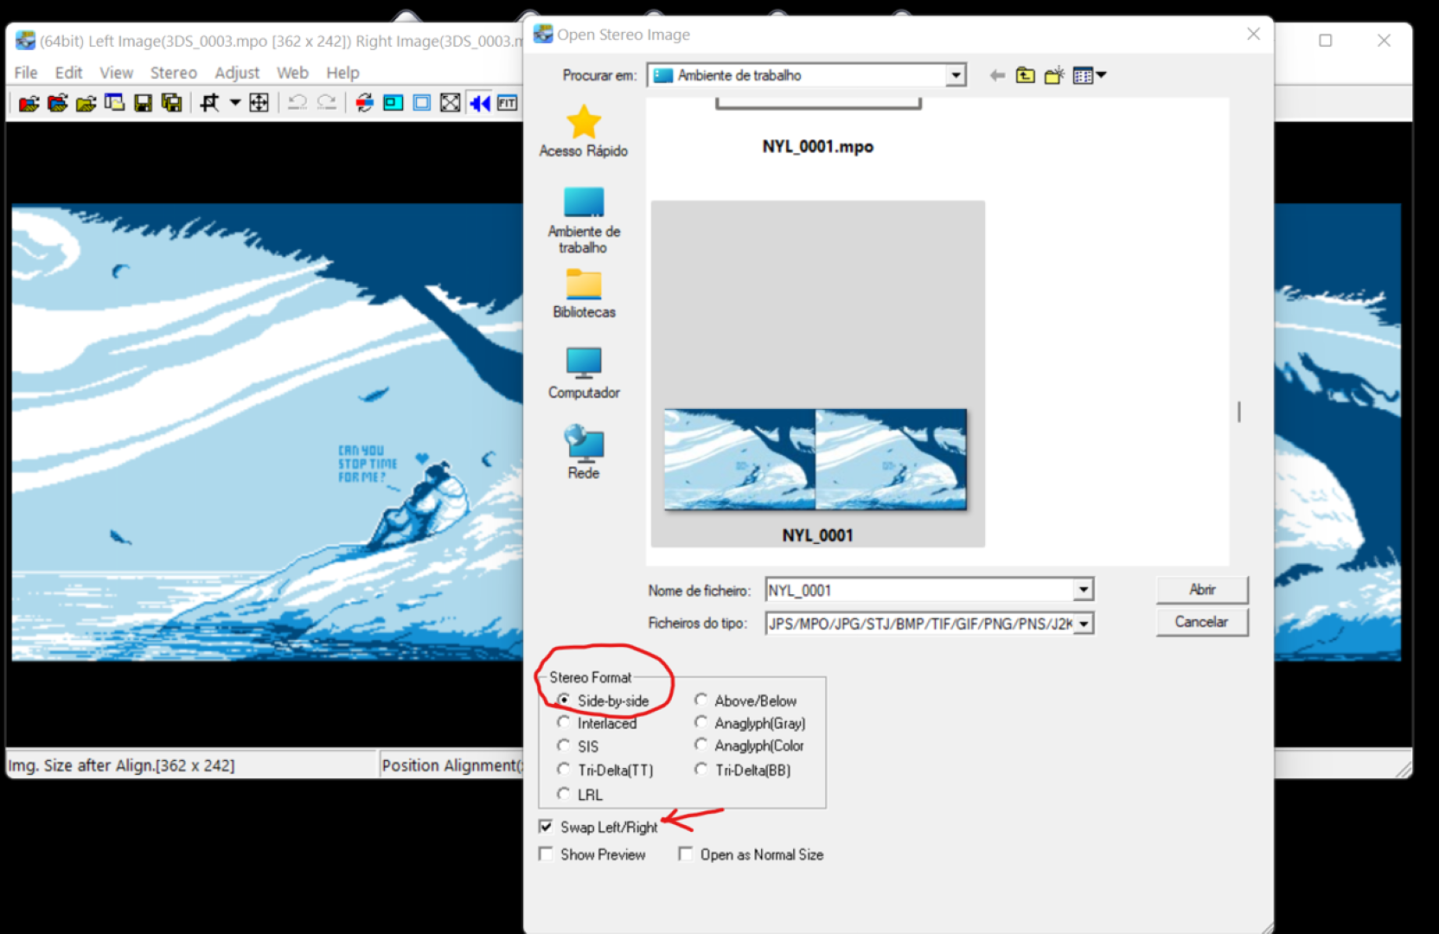
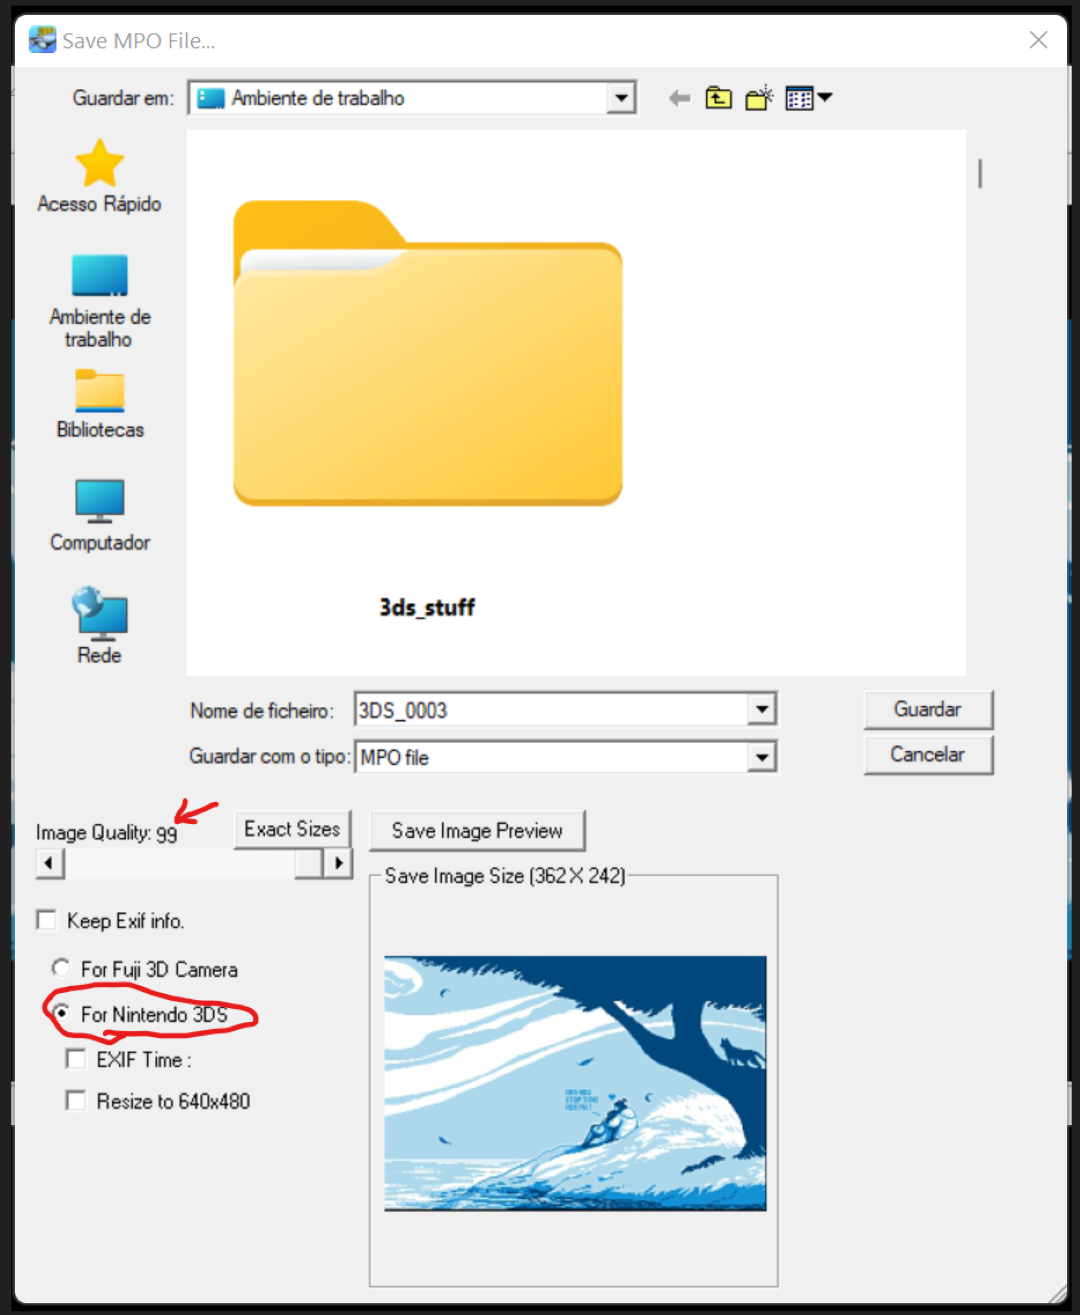
STEP 2 // Convert the image into a 3DS .mpo file by running Stereo Photo Maker and importing the file using the options shown on the screenshot. Then, export the image as .mpo making sure it’s at the highest quality and the option for Nintendo 3DS is on.
|
|
STEP 3 // Transfer the image to the SD card, just remember that the 3DS won’t read the file, be it .mpo or a simple .jpeg image, unless it’s named in it’s own specific way. 3DS image files are named like this: XXXX#### (four alpha numerical characters and four numbers) – for example: nylm0001.mpo or moth0001.jpeg.
By default all images go onto /DCIM/111NIN03/, but if you wish to organize into different folders, just make sure to have them all inside the DCIM folder and with a naming system that is ###XXXXX (first three are numbers only, the other five alpha numerical), example: 001PIXEL, 002MYART, etc.
If all goes well you should be able to view your art as 3D art using the console’s photo viewer! Good luck experimenting and have fun!
SOURCES: